Perfecting the Classic Chocolate Chip Cookie
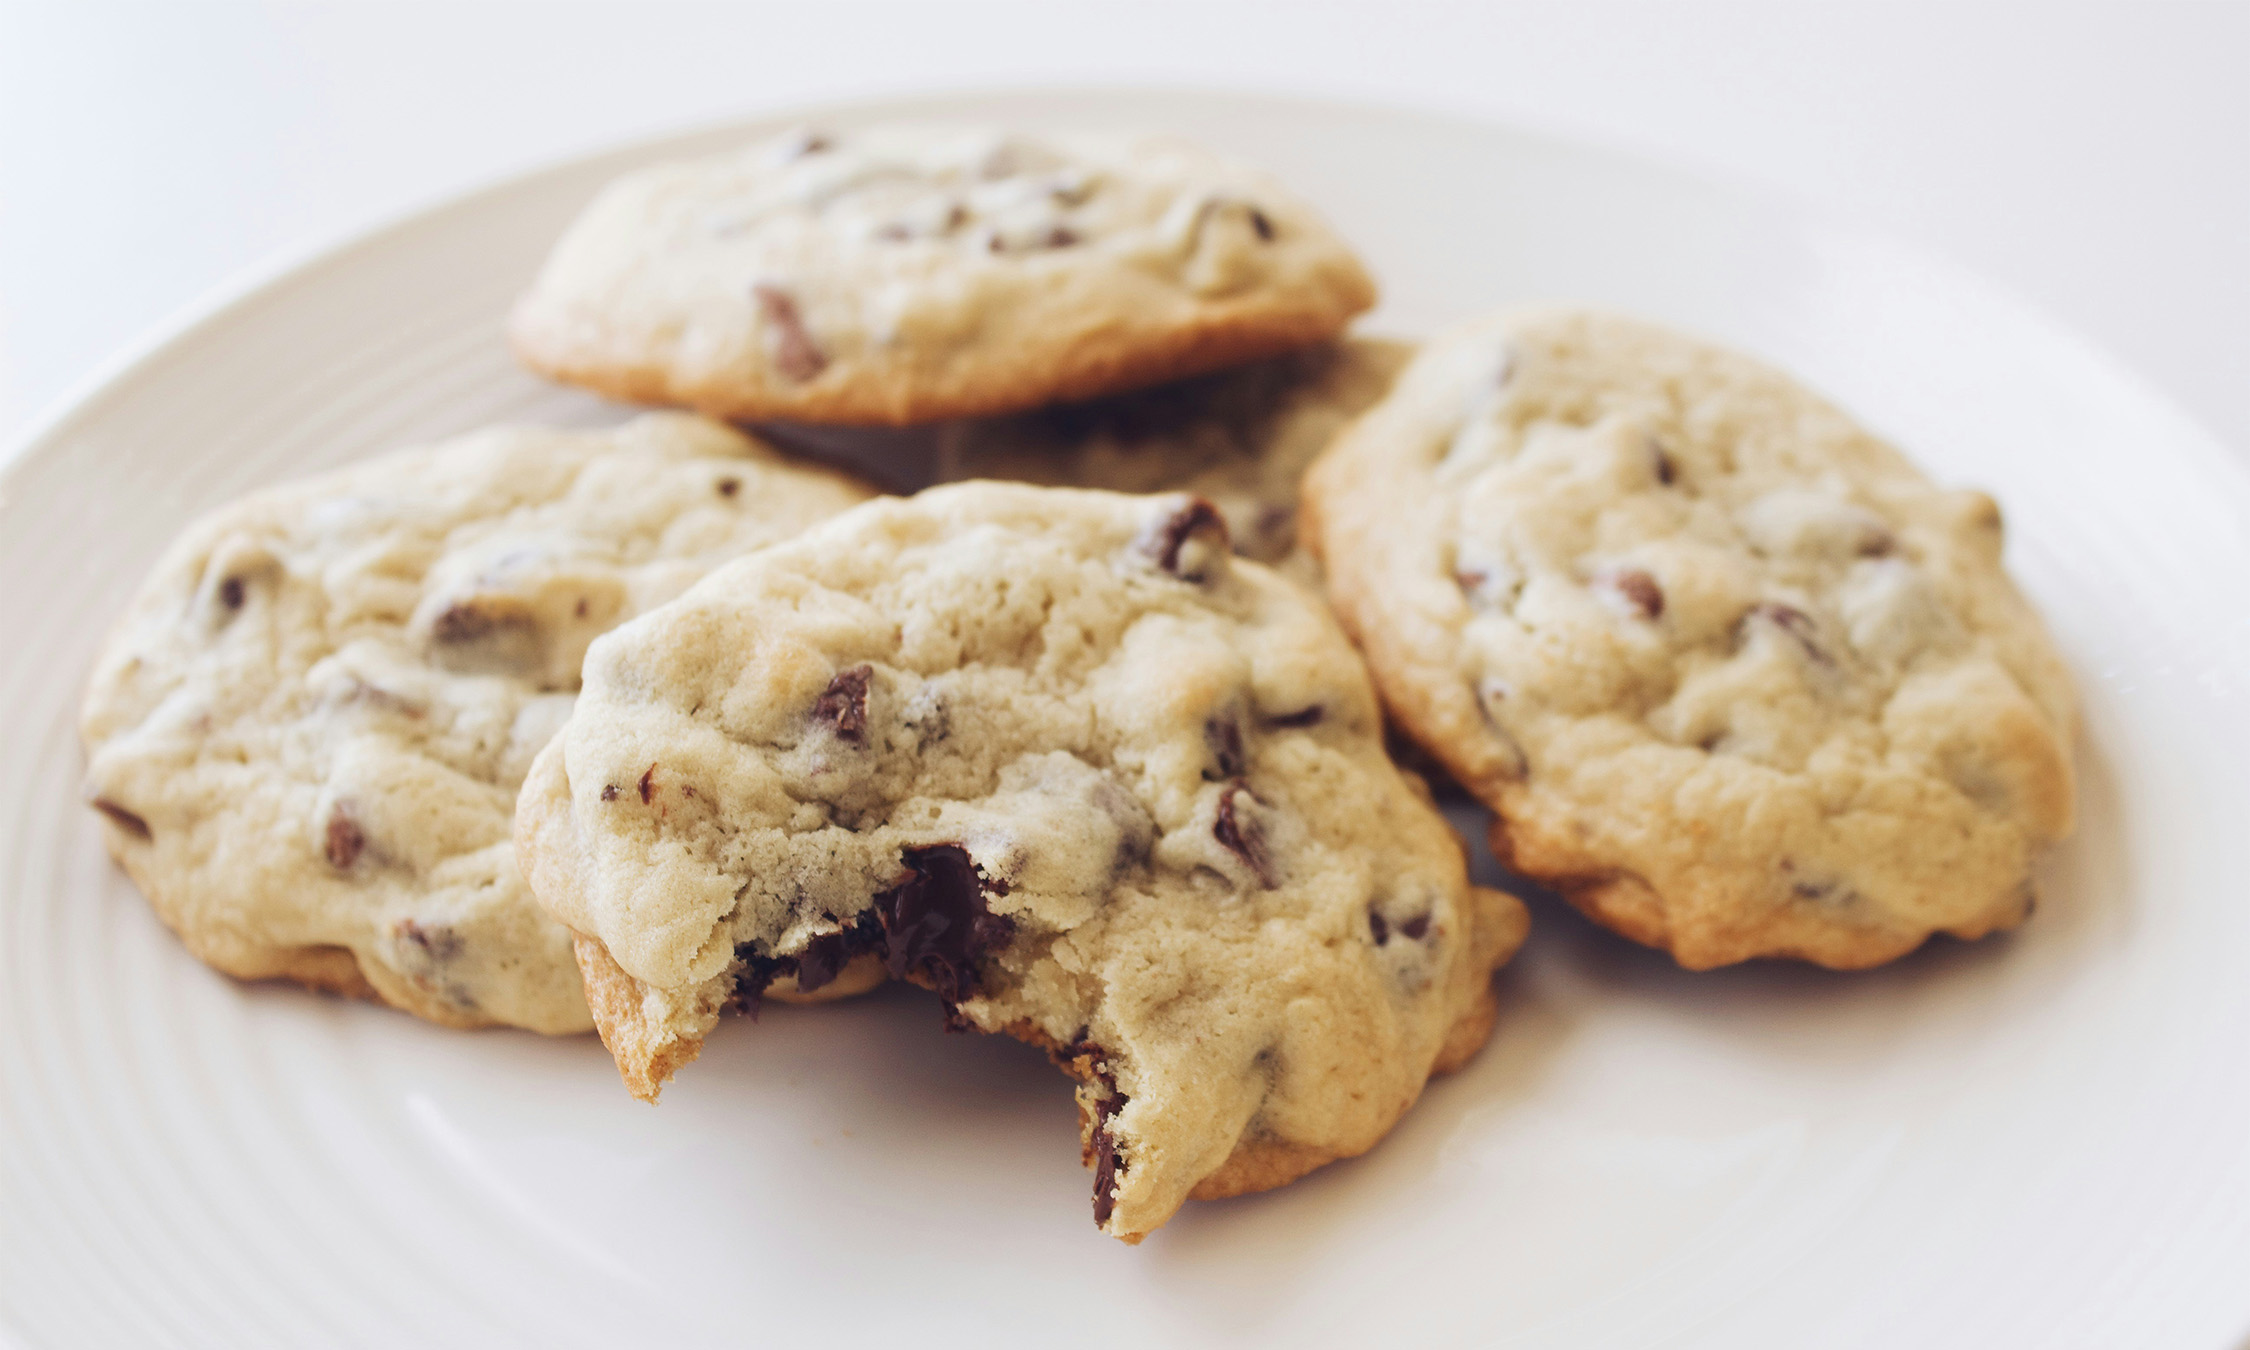
Chocolate chip cookies are a beloved treat that bring joy to both children and adults alike. The perfect cookie strikes a balance between crispy edges and a chewy center, with just the right amount of sweetness and chocolatey goodness. Whether you’re a novice baker or a seasoned pro, this guide will help you master the art of baking the perfect chocolate chip cookie.
Ingredient Selection
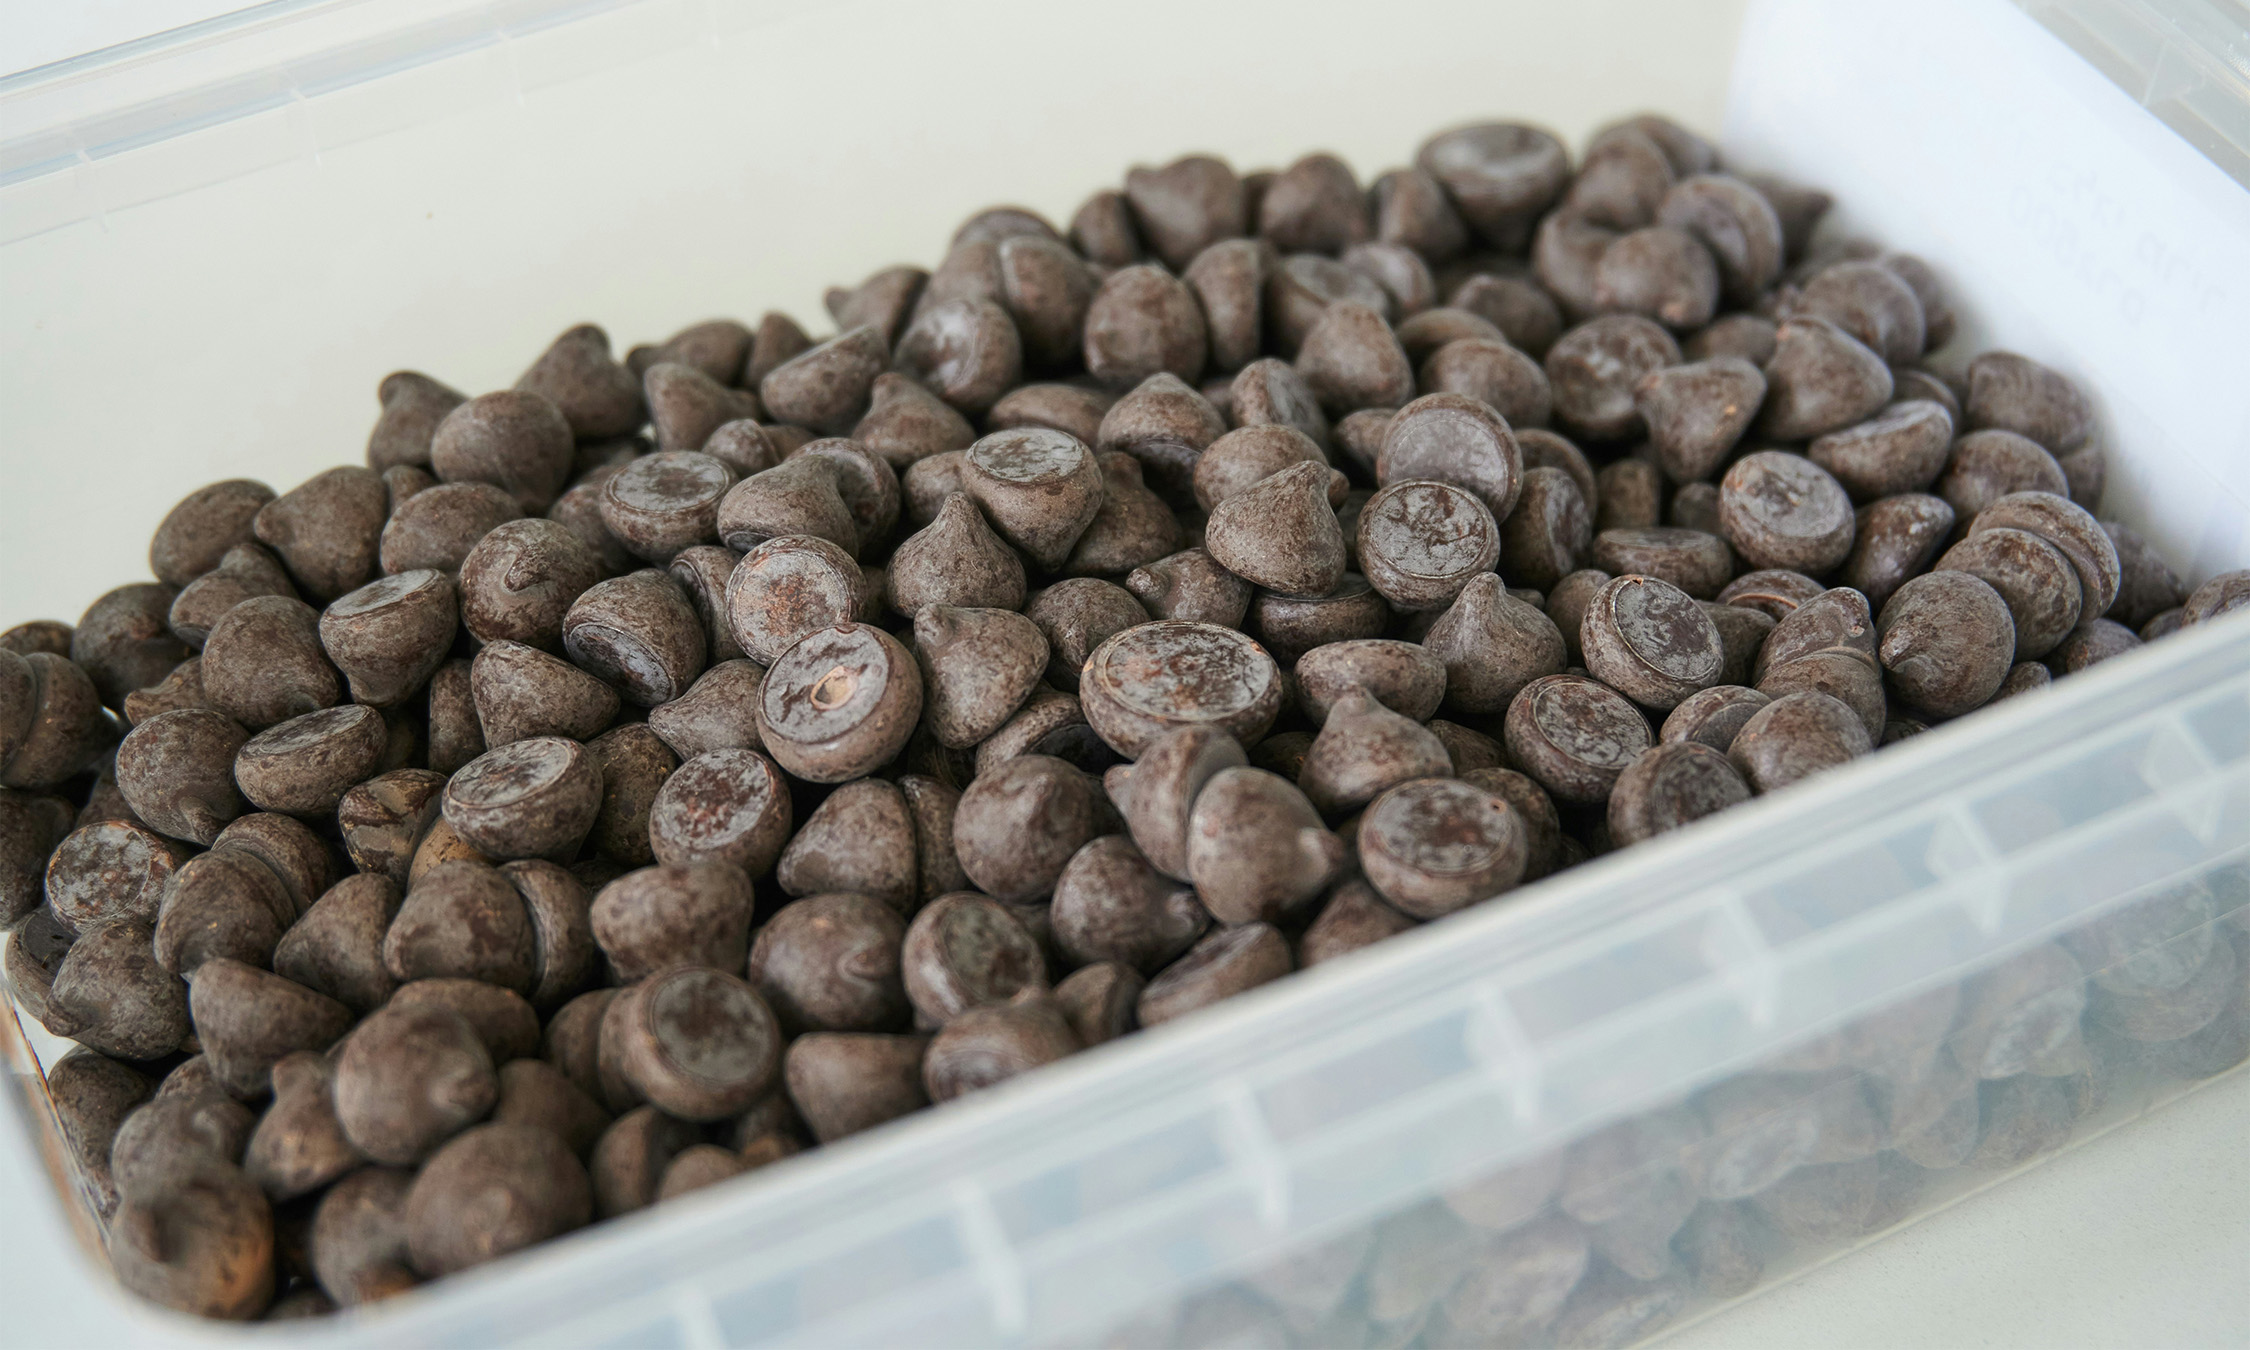
Choosing the right ingredients is fundamental to cookie perfection. Start with high-quality butter; using unsalted butter gives you control over the salt content, and browning the butter can add a rich, nutty flavor. The type of sugar used also plays a critical role: granulated sugar contributes to a crispy texture, while brown sugar, with its higher moisture content, ensures a chewy center. For an even richer flavor, consider using dark brown sugar. When it comes to chocolate, opt for semi-sweet or dark chocolate chips or chunks, as they provide a balanced sweetness without being overwhelming.
Dough Preparation
The preparation of the dough is where the magic begins. Creaming the butter and sugars together until light and fluffy is essential as it incorporates air, giving the cookies a lift. Adding eggs one at a time ensures proper emulsification, creating a smooth and cohesive dough. Vanilla extract enhances the overall flavor, making the cookies more aromatic. Gradually incorporating the dry ingredients—flour, baking soda, and salt—prevents over-mixing, which can result in tough cookies. Folding in the chocolate chips or chunks gently ensures they are evenly distributed without deflating the dough.
The Chilling Process
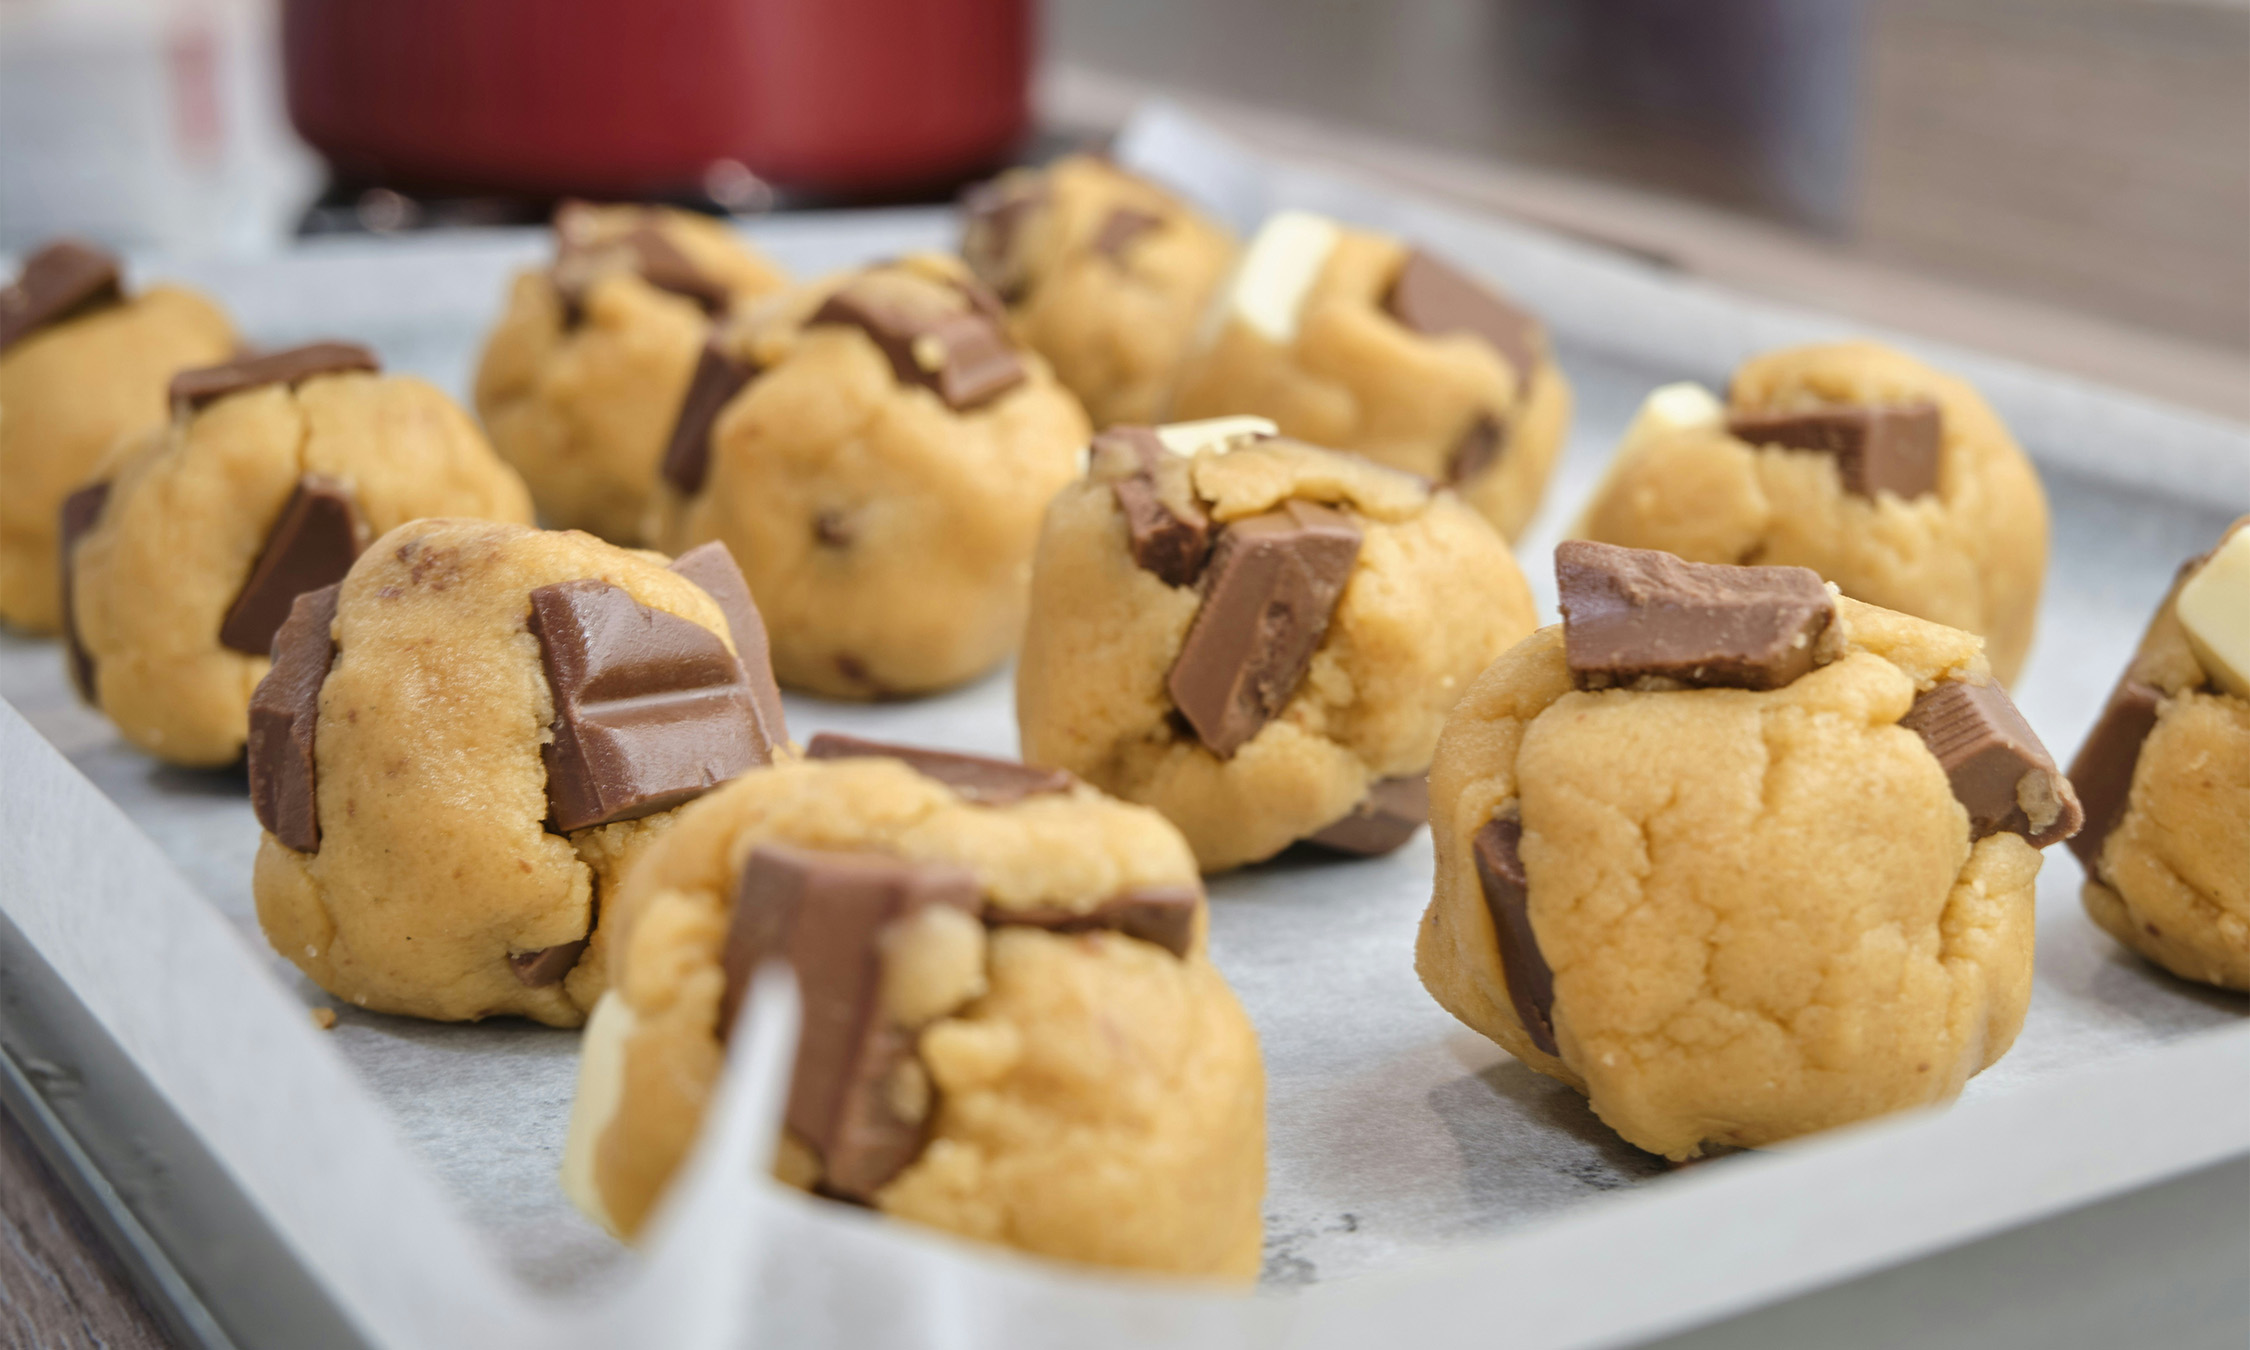
One often overlooked step is chilling the dough. Allowing the dough to rest in the refrigerator for at least an hour, or preferably overnight, has several benefits. It solidifies the fat in the dough, preventing the cookies from spreading too much during baking. Chilling also allows the flavors to meld together, resulting in a more complex and delicious cookie. For convenience, scoop the dough into balls before chilling; this makes the baking process quicker and more efficient when you're ready to bake.
Baking Techniques
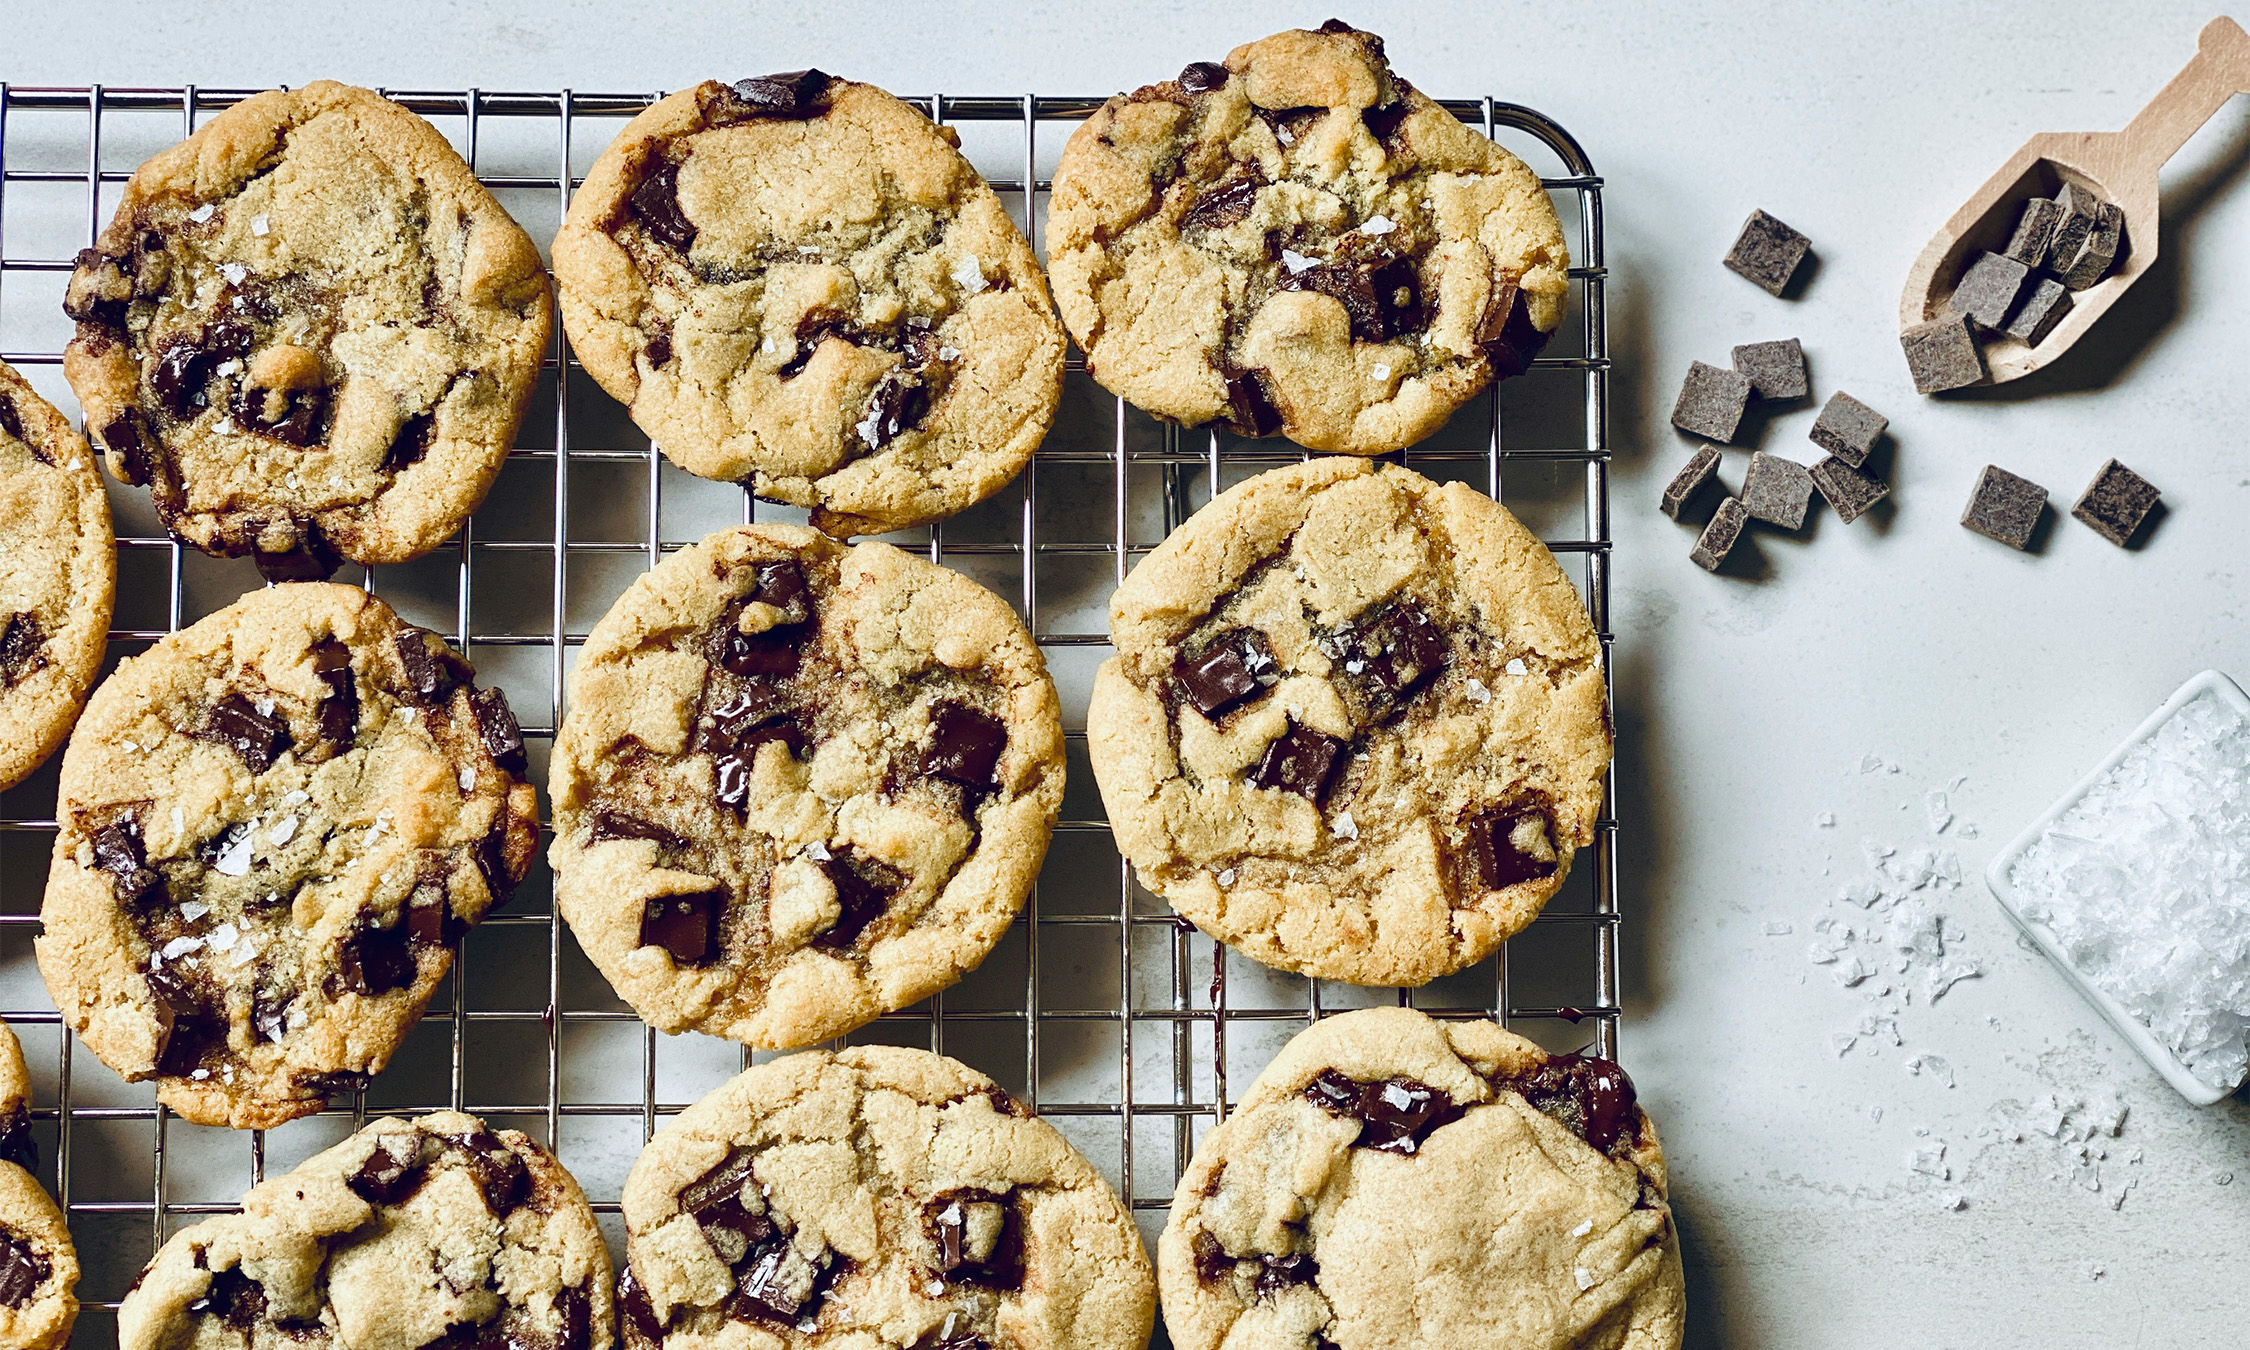
Baking the cookies at the right temperature and for the correct duration is crucial. Preheat your oven to 350°F (175°C) and line your baking sheets with parchment paper. Space the dough balls about two inches apart to allow for even spreading. Bake for 10-12 minutes, or until the edges are golden brown but the centers still appear slightly undercooked. This method ensures a perfect texture—crispy on the outside and chewy on the inside. Remember, the cookies will continue to cook on the hot baking sheet even after they've been removed from the oven.